
What made the end of my 2013 really memorable? After 15 long years, I was finally able to set foot again in the beautiful island that is home to both my paternal and maternal roots --- CAMIGUIN!
The whole family,including the Hubby who was a first timer, journeyed by land (bus), air (plane) and sea (ferry) to be at a dear cousin's wedding. To say that our reunion with relatives was uber fun is simply an understatement. We were literally laughing the whole time we were in the "Isla" and also in Cagayan de Oro where we made stopovers. Our stay was only for a weekend and yeah, I now miss all our folks back there big time.T_T
What also made our vacation in Camiguin amazing was the opportunity to visit some of the tourist spots the Island takes pride on. Due to time constraints, we were able to go to only two spots situated in Catarman, the actual hometown of my parents. Still, these are definitely worth sharing with everyone.^^
------------------------------
SUNKEN CEMETERY
The old cemetery submerged into the sea as a result of the eruption of Mt. Vulcan in 1871. The huge cross which serve as the cemetery's marker was erected only in 1982. To date, many tourists flock this spot, some of whom go diving to really see the grave site.

To get to the cross, we had to rent a boat for a minimum fee of P20.00 per person. We gave additional tip though because we were satisfied by the boatmen's service. One of these boatmen, we found out, once upon a time became a scholar of my late Tito Fred who was my mom's eldest brother. Small world indeed!:D


The travel from the shore to the cross took us merely a few minutes. We were all giddy except for my dad who seemed a bit nervous, no thanks to the small waves haha.:D


Stepping on the hardened lava on which the huge cross stood was truly an overwhelming experience for me. I could only imagine the horrific tragedy that sunk this part of the ancient Camiguin, together with the unfortunate locals and the remains of their departed loved ones.
Anyway, what's a visit without "picture-picture"?^^ Manong boatman, the scholar of my uncle, proved to be an amazing photographer. He wowed us with a lot of tricks!:D

Finally, it was time to go back and leave the buried Camigueños in peace. The boat was then paddled along the area with what I would call a "safety rope", tied from the shore to the cross.

STO. NIÑO COLD SPRING
After our Sunken Cemetery adventure, we headed straight to one of Camiguin's famous cold springs. I have read somewhere that this natural pool measures 25 meters by 40 meters, with a maximum depth of around 2 meters.


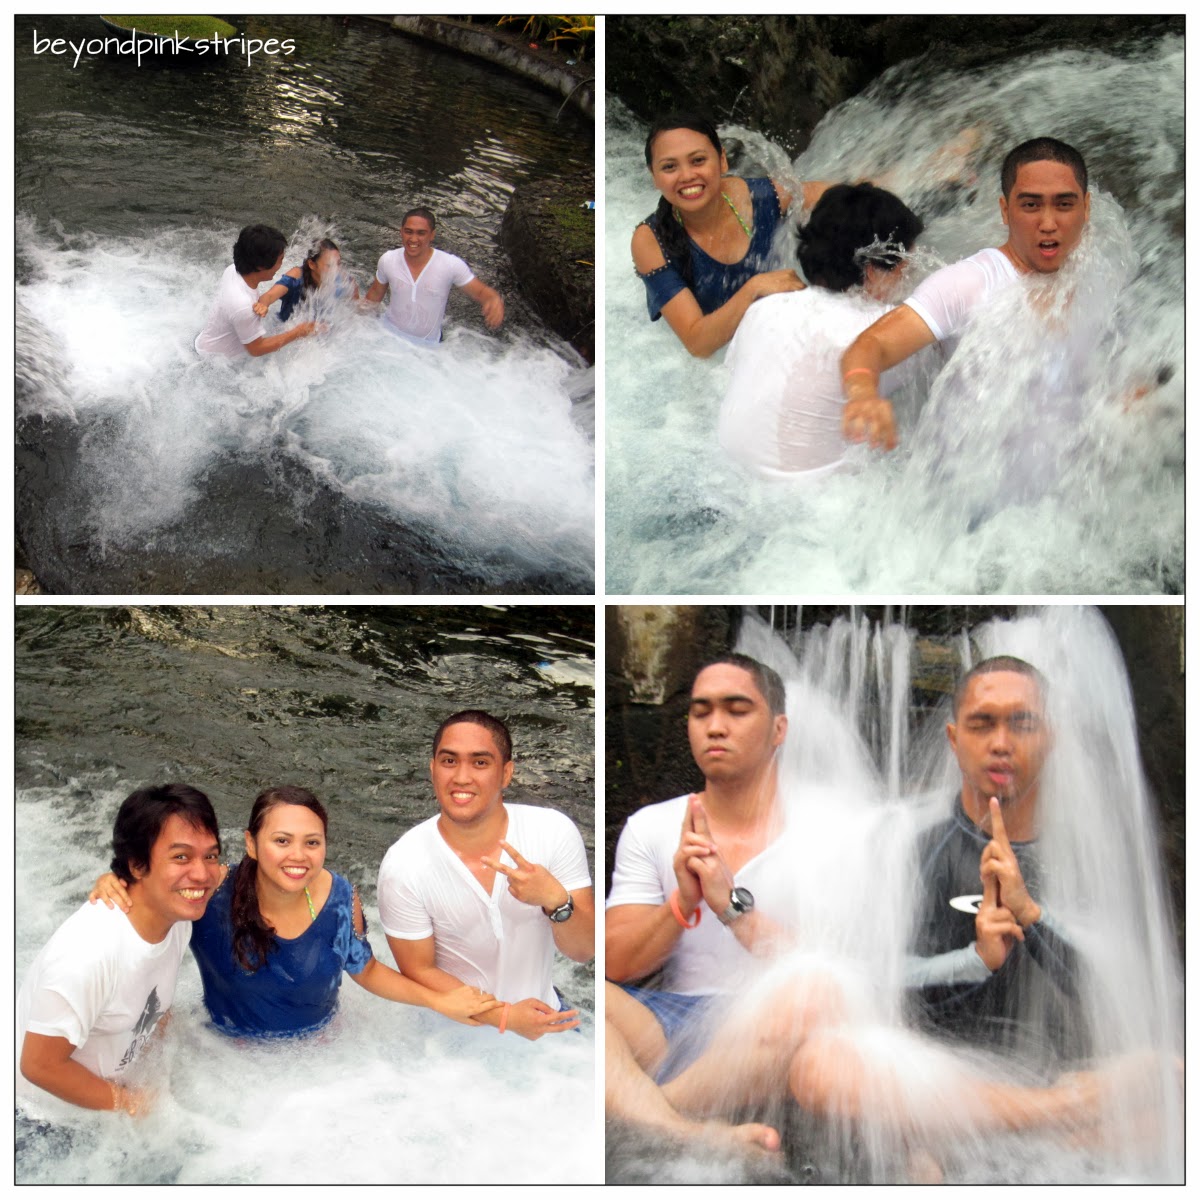
The moment I dipped my foot on the water, I immediately felt cooooooold (remember, 'twas December then!) but it was such a refreshing feeling that I did not hesitate to fully immerse myself in the spring. The water was so clear that the sandy bottom, the stones and even fish were very much visible!:D

The old cemetery submerged into the sea as a result of the eruption of Mt. Vulcan in 1871. The huge cross which serve as the cemetery's marker was erected only in 1982. To date, many tourists flock this spot, some of whom go diving to really see the grave site.
To get to the cross, we had to rent a boat for a minimum fee of P20.00 per person. We gave additional tip though because we were satisfied by the boatmen's service. One of these boatmen, we found out, once upon a time became a scholar of my late Tito Fred who was my mom's eldest brother. Small world indeed!:D
The travel from the shore to the cross took us merely a few minutes. We were all giddy except for my dad who seemed a bit nervous, no thanks to the small waves haha.:D
Stepping on the hardened lava on which the huge cross stood was truly an overwhelming experience for me. I could only imagine the horrific tragedy that sunk this part of the ancient Camiguin, together with the unfortunate locals and the remains of their departed loved ones.
Anyway, what's a visit without "picture-picture"?^^ Manong boatman, the scholar of my uncle, proved to be an amazing photographer. He wowed us with a lot of tricks!:D
Finally, it was time to go back and leave the buried Camigueños in peace. The boat was then paddled along the area with what I would call a "safety rope", tied from the shore to the cross.
After our Sunken Cemetery adventure, we headed straight to one of Camiguin's famous cold springs. I have read somewhere that this natural pool measures 25 meters by 40 meters, with a maximum depth of around 2 meters.
The moment I dipped my foot on the water, I immediately felt cooooooold (remember, 'twas December then!) but it was such a refreshing feeling that I did not hesitate to fully immerse myself in the spring. The water was so clear that the sandy bottom, the stones and even fish were very much visible!:D
Because he deemed it too chilly for his liking, we appointed our dad as the official photographer while we had fun hahaha.:D

By the way, we saw this dog at the entrance of Sto. Niño. It must be the coldness that prompted him to "wear socks". LOL!^^
By the way, we saw this dog at the entrance of Sto. Niño. It must be the coldness that prompted him to "wear socks". LOL!^^

There you go!^^ Oh boy, if only one would just see for himself all the wonders the Island has to offer, he would not be able to resist when the wind whispers, "Come-again to Camiguin!".^^
As for me, well, I will surely be back pretty soon!:D
For more information on Camiguin Island, click here.


